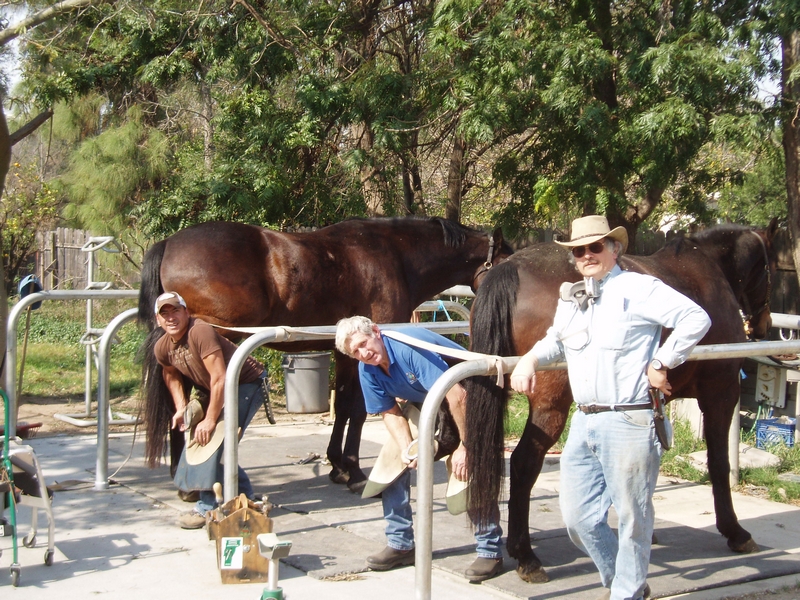
A shoeing bay offers the best in hoof care facilities.
While many shoers work on horses in cross-ties, David Farmilo prefers a simple shoeing bay. Of course that means you’ve got to convince horse owners to invest in an inexpensive shoeing facility.
A farrier from Oakbank, Australia, Farmilo is convinced that using a shoeing bay can make your hoof care work much easier. The simple setup also pays off for owners and trainers by providing a place to handle health care, dentistry, washing and grooming chores.
A speaker at the recent International Hoof-Care Summit, Farmilo’s shoeing bay is easy to construct either outside or in a barn and makes working with any size horse or pony easier and safer.
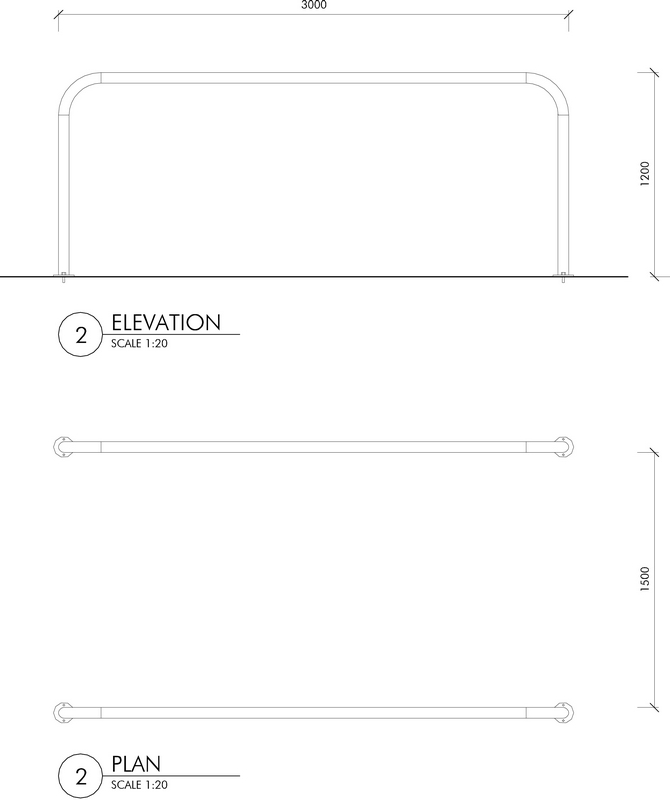
All an owner needs is a concrete slab, two 18 foot lengths of 2.5” diameter galvanised pipe, four base plates and four dynabolts. The 2.5” pipe offers strength and stability. Using galvanised elbows or a pipe bender eliminates bolts or seams that can snag either the horse or the farrier.
Bolting the flanges to the floor rather than setting the flanges in concrete allows the owner to remove the pipes to increase space for demonstrations, discussion groups or other needs.
Using rubber matting or bolting canvas conveyor belt material to the floor keeps an agitated horse from slipping. Deadening the sound of the hooves, the matting can also help calm a horse.
Farmilo recommends covering the concrete with rubber matting or conveyor belt material to keep everyone safe when the floor gets wet or slippery. While roughened concrete is an option, a restless horse can quickly wear down his nicely trimmed hooves.
The 10 foot long shoeing bay provides a horse with comfort and allows him to move slightly on his restraint rope.
Farmilo says the four foot high side rail is the ideal height to contain the horse while allowing an escape route for the farrier on either side. “This height allows the farrier to move or throw himself sideways and under the rails” he says. All the farrier has to do is remember to duck his head the first time.
In the shoeing bay, Farmilo cross-ties horses to the four foot high rails with two lead ropes attached to baling twine for safety. A light breeching rope is placed behind the horse’s rump.
The side rails control the horse’s movement. “In cross ties, you can have a horse quickly turn 180 degrees on you, but that won’t happen in the shoeing bay,” says Farmilo.
“I always cross-tie using two lead ropes tied at any place to the rails with baling twine which will break under pressure. The shoeing bay is long enough that a light rope across the back of the shoeing bay does not cause the horse to feel overly contained. The rope can be moved forward or back to allow for the length of the individual horse. It is an added safety measure in case the horse moves back and gives the farrier an easy exit path.”
“In cross-ties, the horse will often play the farrier against the holder. But horses quickly figure out that the shoeing bay is an area where they learn to stand quietly. Plus it’s extremely safe for both the farrier and the horse.”
Farmilo says the results of using a shoeing bay will amaze you. “Horses will be so much easier to control and you’ll be able to improve the standard of your work,” he says. “You won’t need someone to hold every horse. While the horses are still cross-tied, this setup allows the owner or trainer to see more of what’s going on.
Farmilo doesn’t have any trouble shoeing bad-mannered horses in a shoeing bay. “I don’t like to have clients hold horses when I am shoeing,” he says. “Instead, I prefer to get my clients to sit in a folding chair, get them a cup of coffee and have them watch what I do. As I move to the next foot, they can move their chairs so they can see what I’m doing.”
MATERIALS LIST:
2 lengths galvanised pipe 2.5” diameter x 18 foot long
4 x 2.5” galvanised flanges
8 x 0.5” dynabolts
4 x 2.5” galvanised elbows if no pipe bender available
CONSTRUCTION:
As per diagram.
For elbows either bend pipe in pipe bender
Or use ready-made elbows.
Attach to floor with either 2.5” galvanised flanges dynabolted to the concrete or set the pipes directly into the concrete.
Rubber matting or conveyor belt matting on the floor helps settle the horse and prevents slipping (attach conveyor belt matting with dynabolts)
Horse should be cross-tied using two lead ropes (attached the rails with binding twine for safety) and also a light breeching rope should be put behind the horse’s rump.